
If you’re starting as a Database Reliability Engineer (DBRE) or DBA, chances are your team uses Git to store its repositories. That means you’ll need to install Visual Studio Code (VS Code), connect it to GitHub, and pull those files down to your local machine so you can start contributing.
This guide walks you through the process step by step on a Windows. The MAC install is here: Mac Install Blog
Step 1: Install VS Code
Download and install VS Code from Microsoft:
https://code.visualstudio.com/download
Open it once it’s installed.
Step 2: Install Git
You can install Git by clicking on the “Download Git for Windows” in VS code

Or you can go to https://git-scm.com/downloads/win
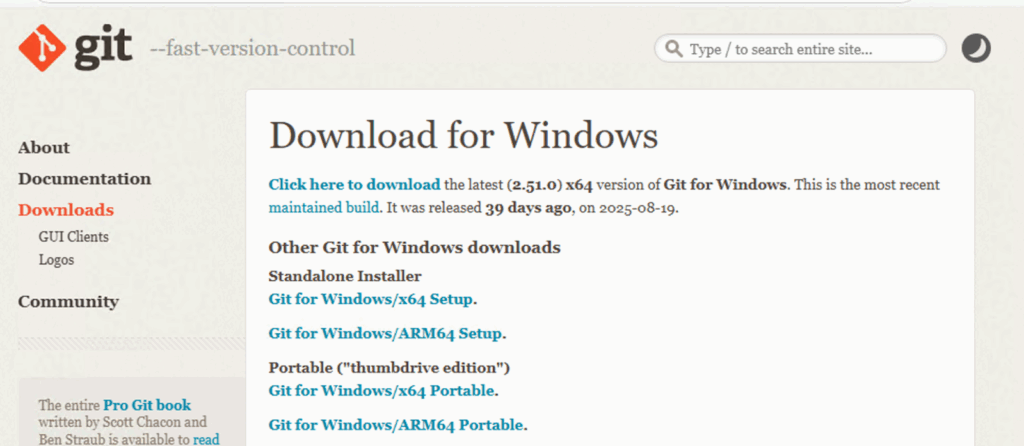
Download the latest Git for Windows installer.
Step 2a: Git Installation Options (Windows)
When you install Git for Windows, you will see a number of screens with options. Most defaults are safe, but it helps to know what they mean so you are not guessing. Below is a walkthrough of each step with plain explanations and recommendations.
1. Select the installation folder
This is where Git will be installed on your computer.
- Default: C:\Program Files\Git.
- You can change this if needed, but most people leave it as is.
Recommendation: Leave it as the default. Why: This is the standard location, easy to find, and works without issues.
2. Select Component
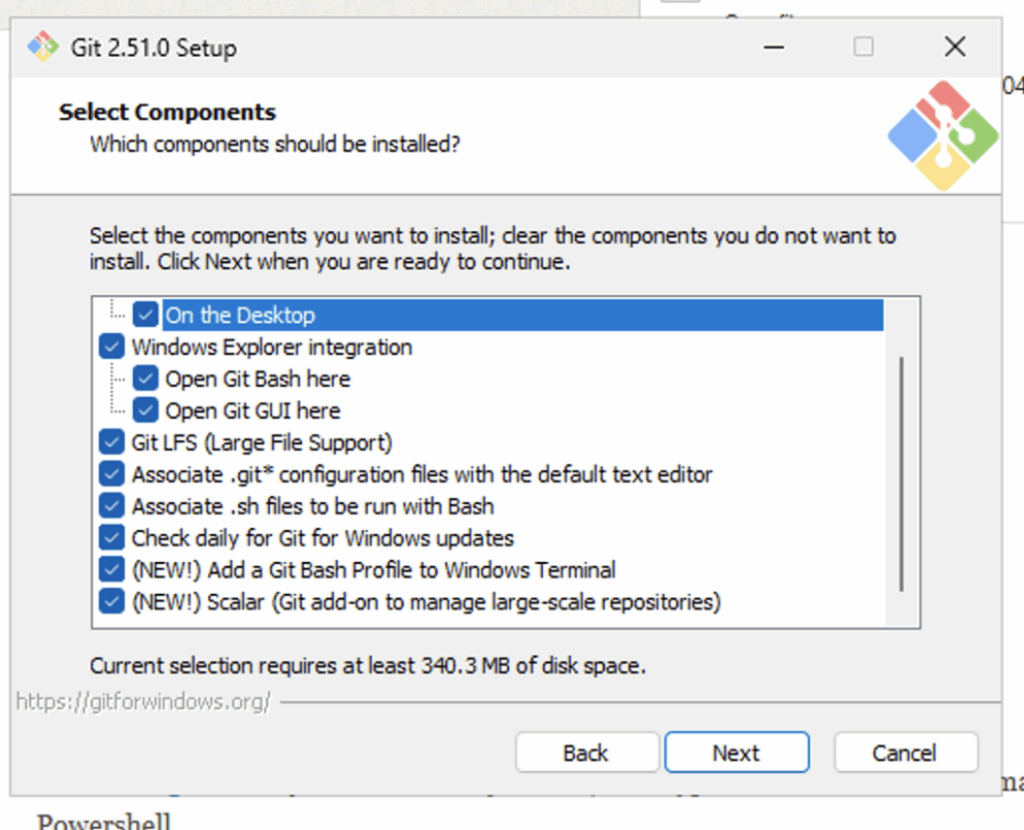
These are extra features Git can add during installation:
- On the desktop: Creates a shortcut icon for Git.
- Windows Explorer integration: Lets you right-click inside a folder in File Explorer and quickly open Git tools.
- Open Git Bash here: Right-click to open a Git Bash terminal directly in that folder.
- Open Git GUI here: Right-click to open Git’s graphical interface instead of the command line.
- Git LFS (Large File Support): Required if your team works with very large files such as database backups, binaries, or images.
- Associate .git* configuration files with the default text editor: Lets Git configuration files open automatically in your chosen text editor.
- Associate .sh files to run with Bash: Lets you run shell scripts from Git Bash.
- Check daily for Git for Windows updates: Automatically checks for updates.
- Add a Git Bash Profile to Windows Terminal: Adds Git Bash as an option inside Windows Terminal.
- Scalar (Git add-on for large repositories): Helps manage extremely large repositories.
Recommendation: Select Git Bash, Git GUI, Git LFS, .sh file support, and update checks. Why: These options give you the most useful tools without adding clutter. Leave Scalar unless you know your company uses very large repositories.
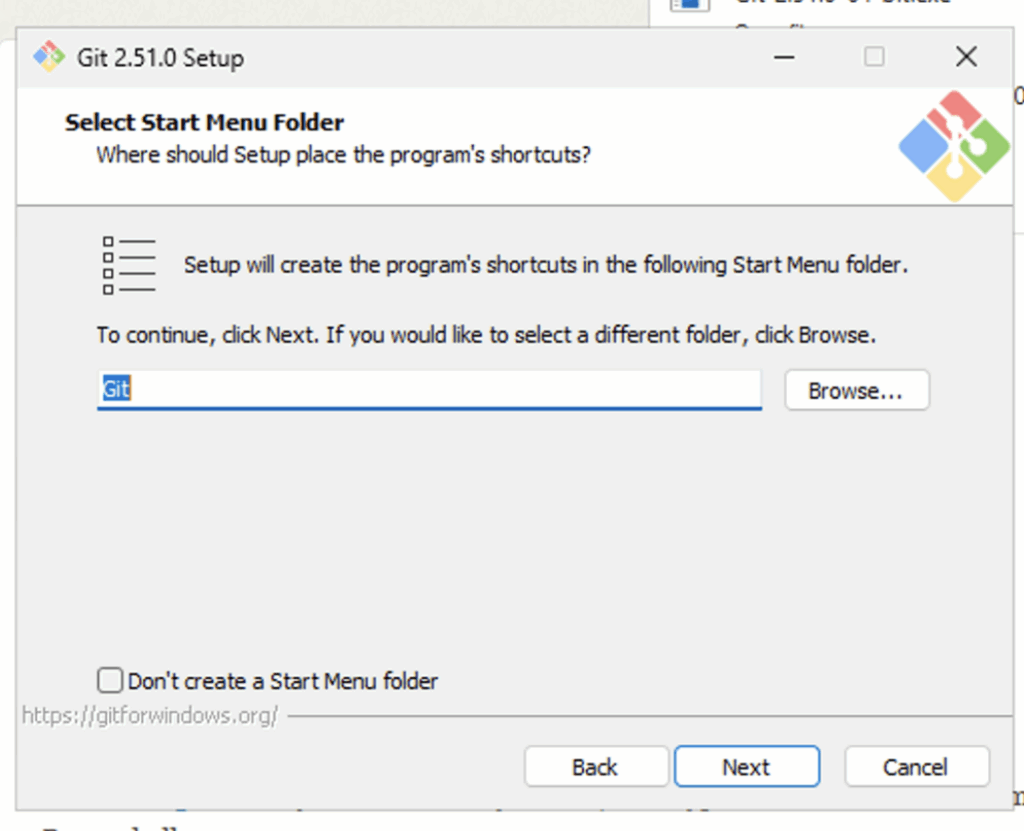
3. Start Menu Folder
This decides how Git appears in the Start Menu.
Recommendation: Leave it as the default. Why: It is easier to search and find later.
4. Choose Default Editor
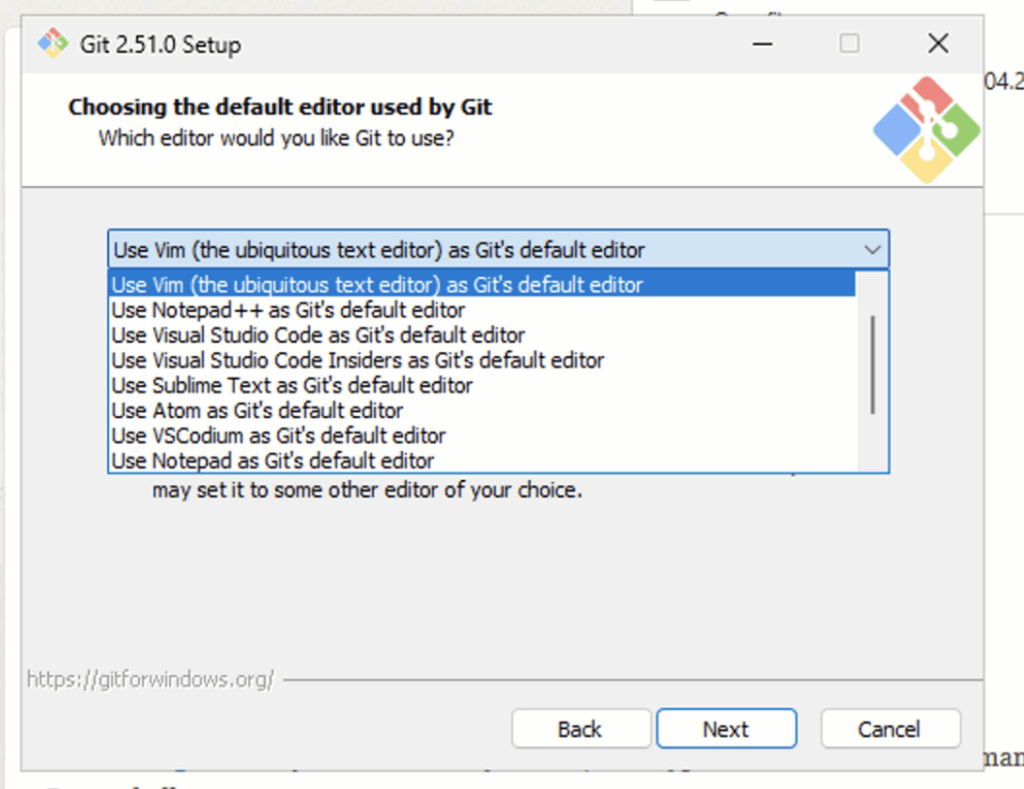
Git sometimes opens an editor to write commit messages or edit settings. Options include Vim, Notepad++, Visual Studio, Visual Studio Code, Sublime Text, Atom, VSCodium, and Notepad.
Recommendation: Choose Visual Studio Code. Why: It is simple to use, beginner-friendly, and integrates well with GitHub and VS Code.
5. Adjust Initial Branch Name
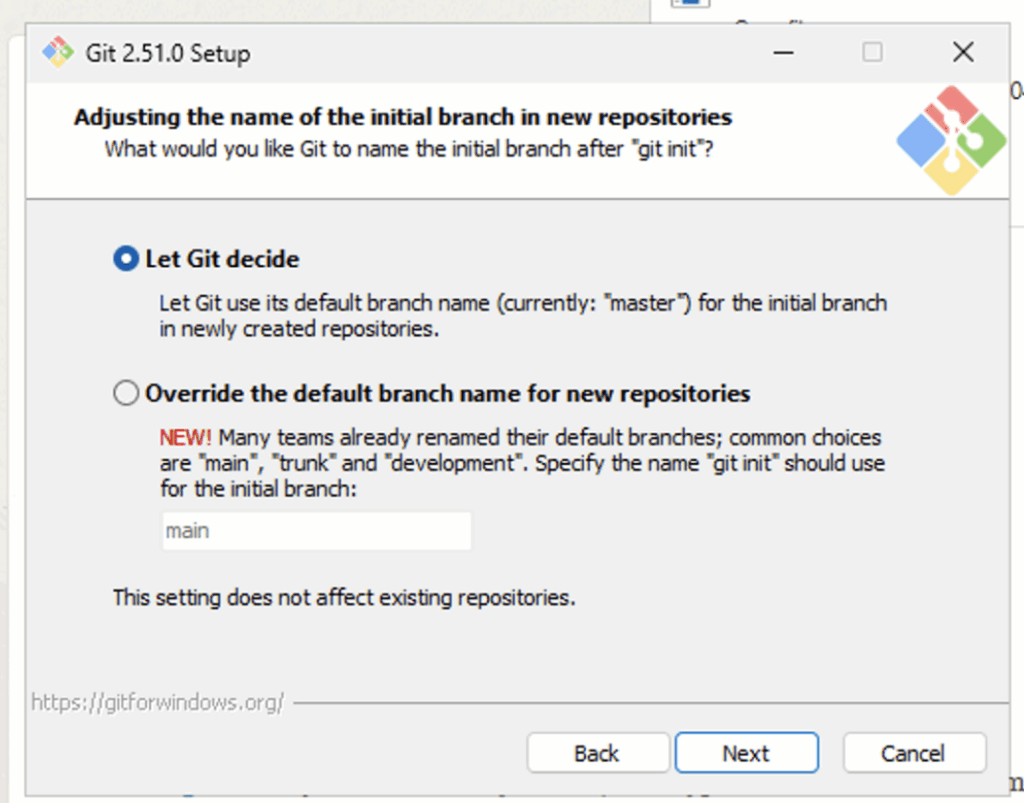
This sets the name of the first branch when you create a new repository.
- Let Git decide: May use “master” or “main.”
- Override: Forces all new repositories to use the branch name you choose.
Recommendation: Choose “main.” Why: Most modern teams use “main” as the default branch, and it avoids confusion.
6. Adjust PATH Environment
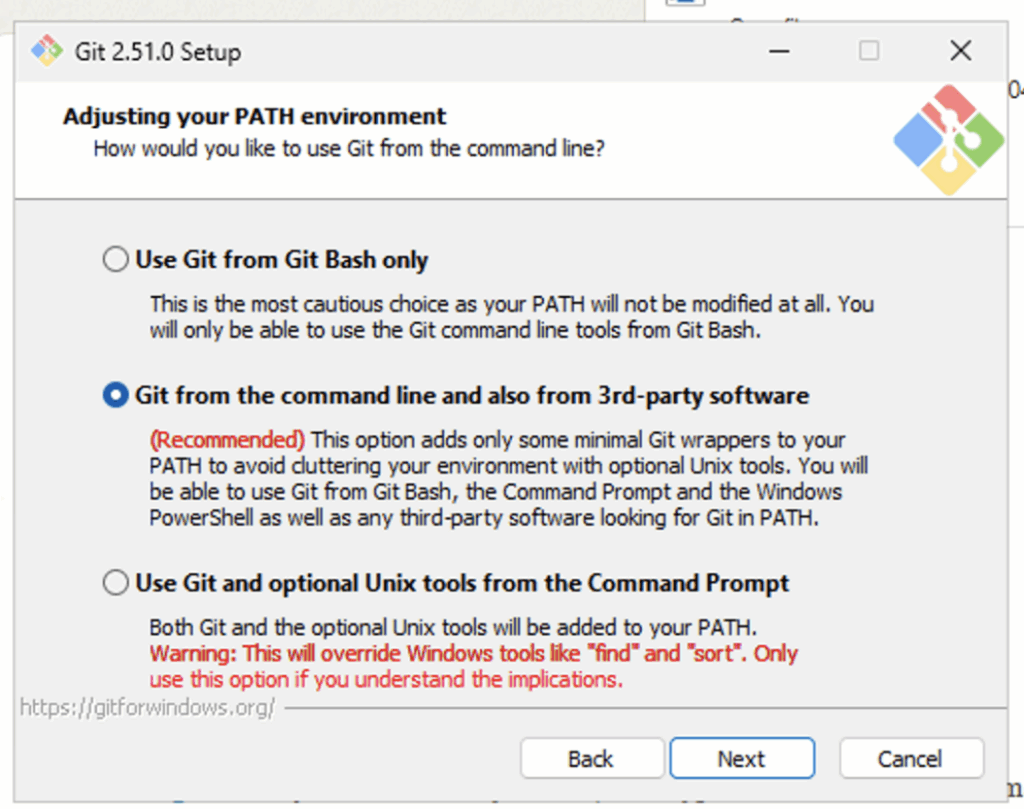
This decides where you can run Git commands:
- Git Bash only: Git works only inside the Git Bash terminal.
- Git from the command line and also third-party software: Git works in Git Bash, Command Prompt, PowerShell, and other software such as VS Code.
- Git and optional Unix tools: Adds extra Unix tools to Windows. This can break some Windows software.
Recommendation: Choose “Git from the command line and also third-party software.” Why: It gives you the most flexibility. You can run Git in any terminal and VS Code will recognize it.
7. Choose SSH Executable
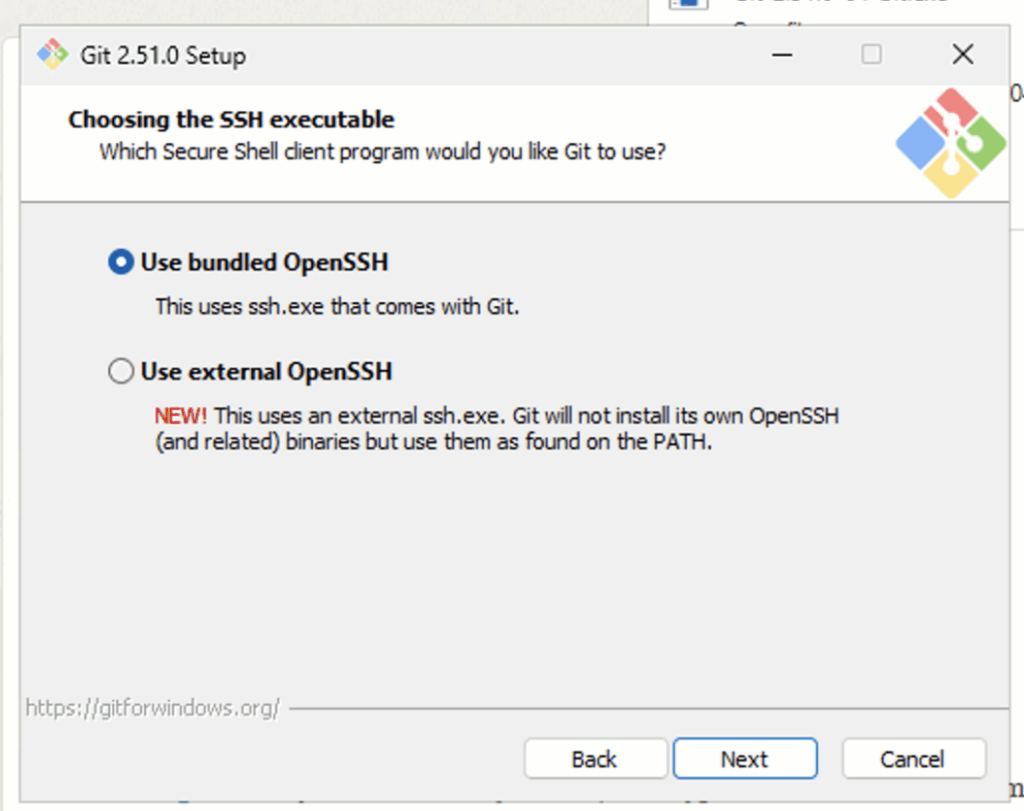
This controls how Git uses SSH for secure connections:
- Use bundled OpenSSH: Installs Git’s own version of SSH.
- Use external OpenSSH: Uses the Windows version of SSH.
Recommendation: Choose bundled OpenSSH. Why: It works out of the box and avoids extra configuration.
8. HTTPS Transport Backend
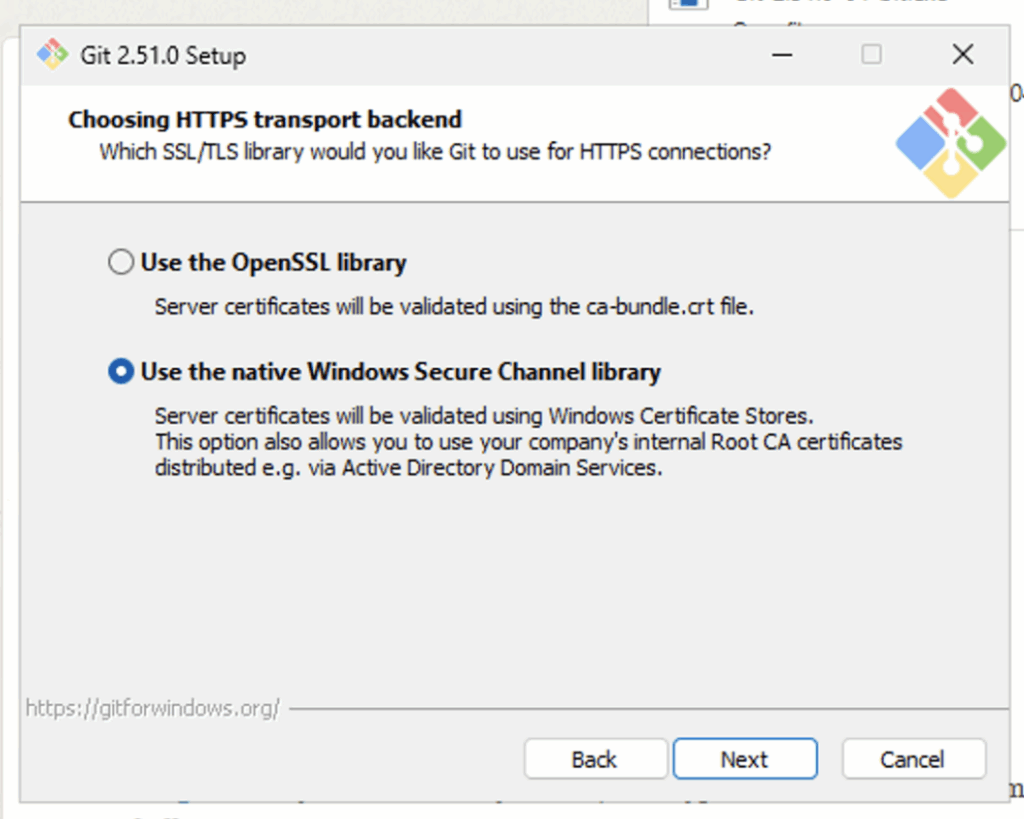
This controls how Git handles HTTPS connections:
- OpenSSL library: A widely used, cross-platform security library.
- Windows Secure Channel: Uses Windows’ built-in security library.
Recommendation: Choose OpenSSL. Why: It is the most stable, reliable, and commonly supported option.
9. Line Ending Conversions
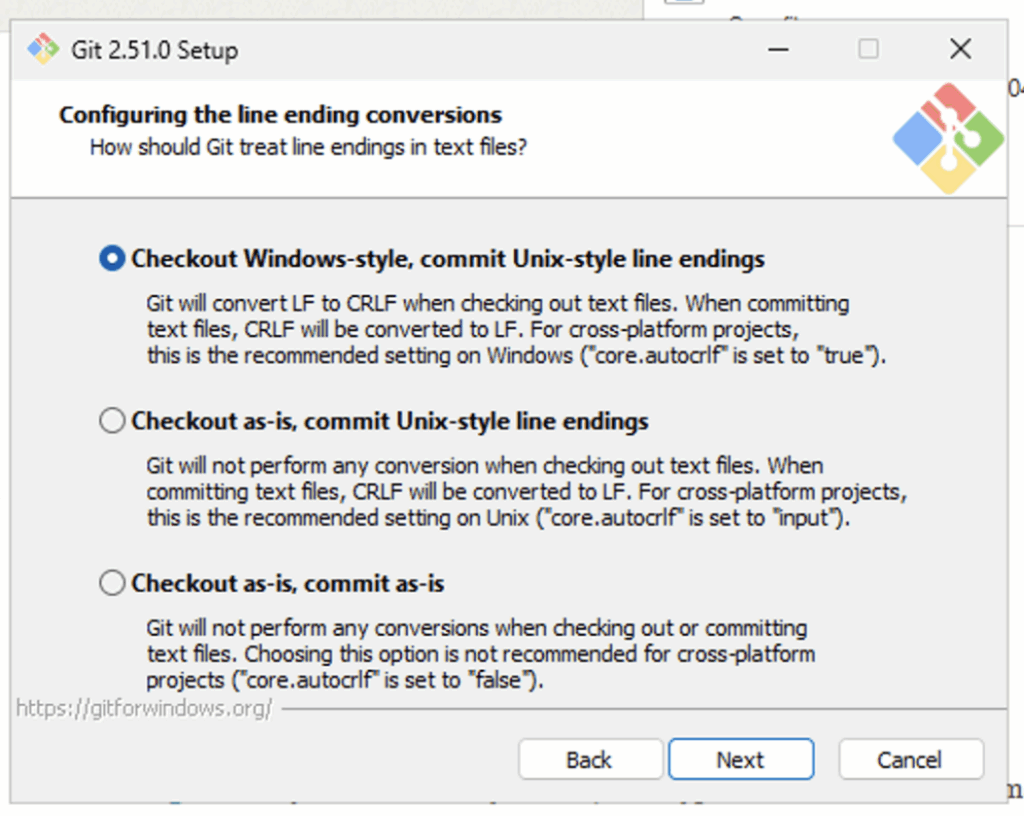
Windows and Linux handle line endings differently.
- Checkout Windows style, commit Unix style: Converts files to Windows format when you open them but commits them back in Unix format.
- Checkout as-is, commit Unix style: Leaves files unchanged when opened but commits Unix format.
- Checkout as-is, commit as-is: No conversion at all.
Recommendation: Choose “Checkout Windows style, commit Unix style.” Why: It avoids compatibility issues between Windows and Linux users on your team.
10. Terminal Emulator for Git Bash
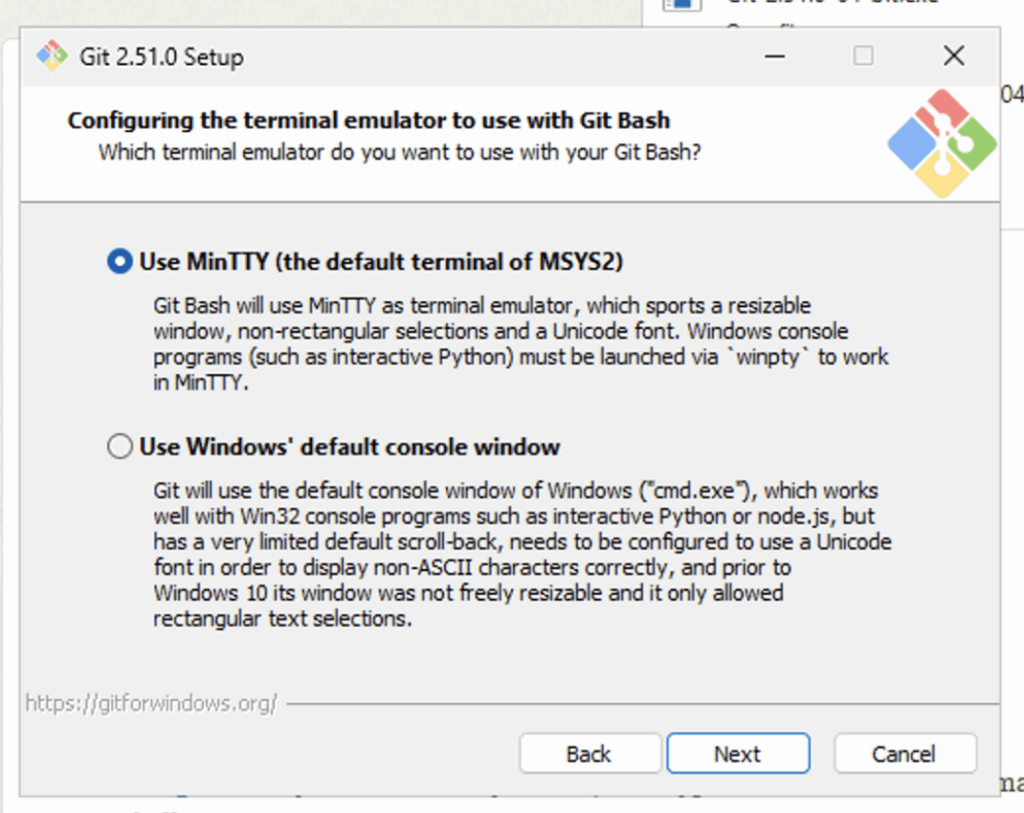
This decides what terminal window Git Bash will use:
- MinTTY: A separate, modern-looking terminal with features such as copy/paste and resizing.
- Windows Console: The standard Command Prompt window.
Recommendation: Choose MinTTY. Why: It is easier to use, cleaner, and more flexible than the old Windows Console.
11. Default Behavior of “git pull”
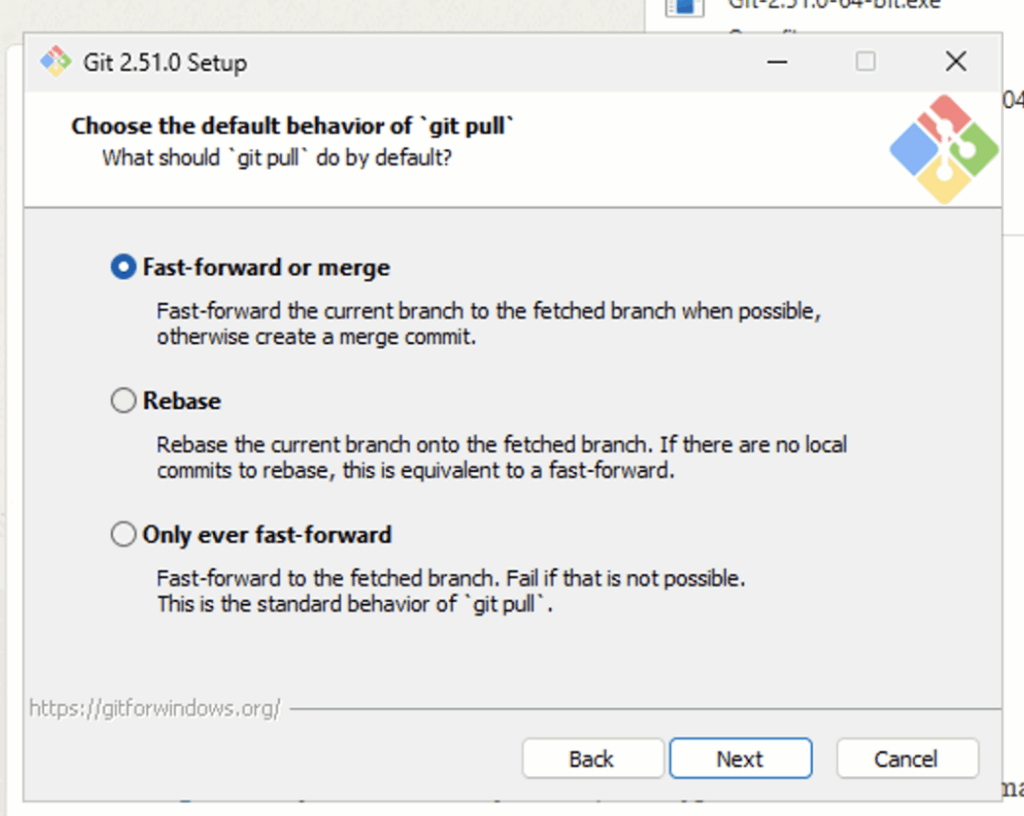
When you run git pull, Git has different ways to combine changes:
- Fast-forward or merge: Combines changes in the simplest way when possible.
- Rebase: Rewrites history to keep it cleaner. More advanced.
- Only ever fast-forward: Only updates if it can move ahead cleanly, otherwise it fails.
Recommendation: Choose Fast-forward or merge. Why: It is the safest and easiest for new users, and it works well with most team workflows.
12. Credential Helper
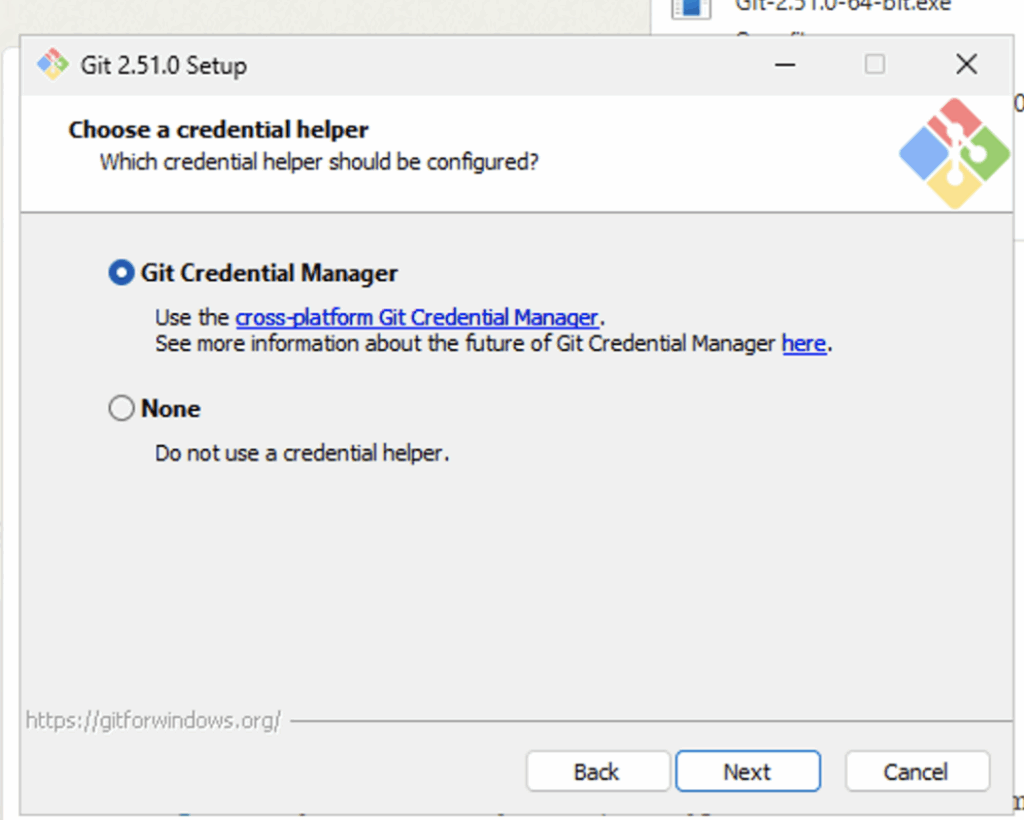
This controls how Git remembers your GitHub login.
- Git Credential Manager: Securely saves your login so you do not have to type it every time.
- None: You will need to log in each time.
Recommendation: Choose Git Credential Manager. Why: It saves time and reduces errors by securely storing your credentials.
13. Extra Options
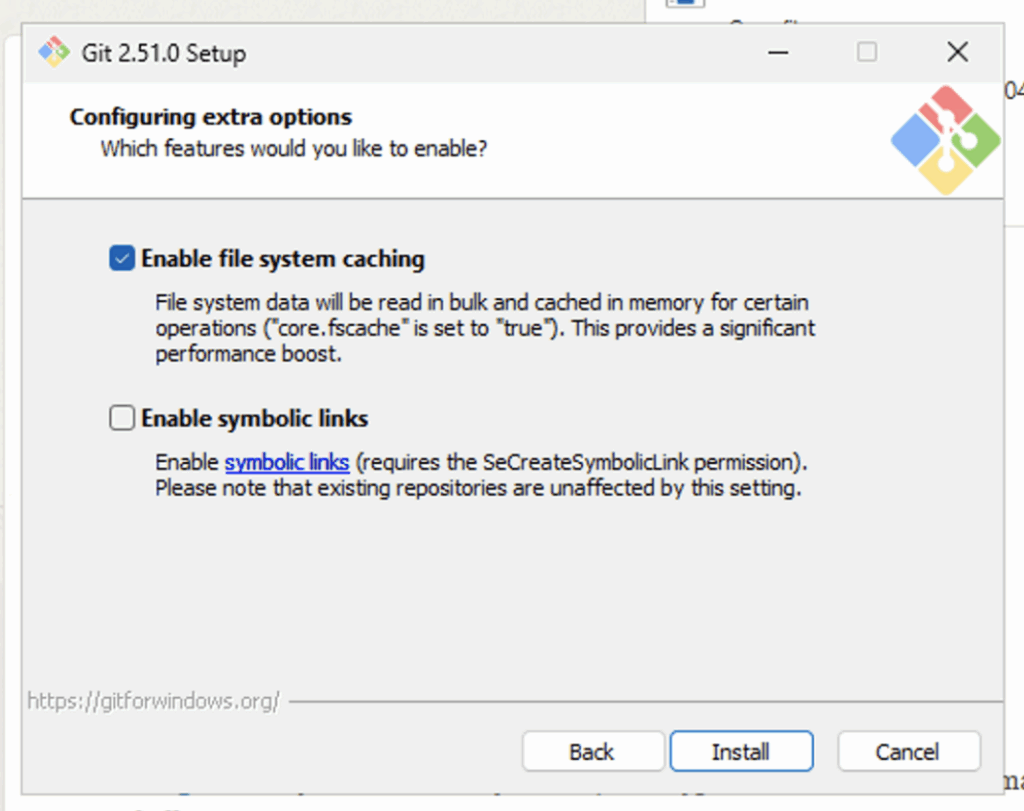
- Enable file system caching: Makes Git faster by caching file details.
- Enable symbolic links: Needed only if your repository uses symbolic links.
Recommendation: Enable file system caching. Why: It improves performance. Leave symbolic links off unless your team specifically uses them.
14. Install
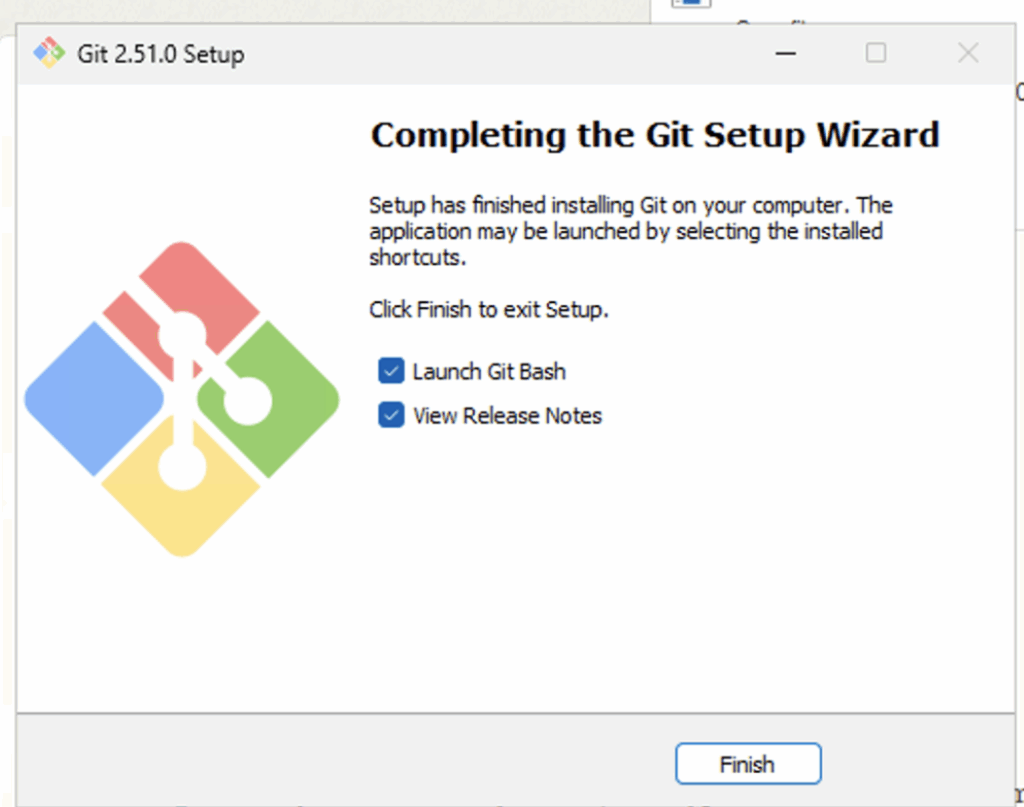
After all options are chosen, click Install. If your disk does not have enough space, the installer will warn you.
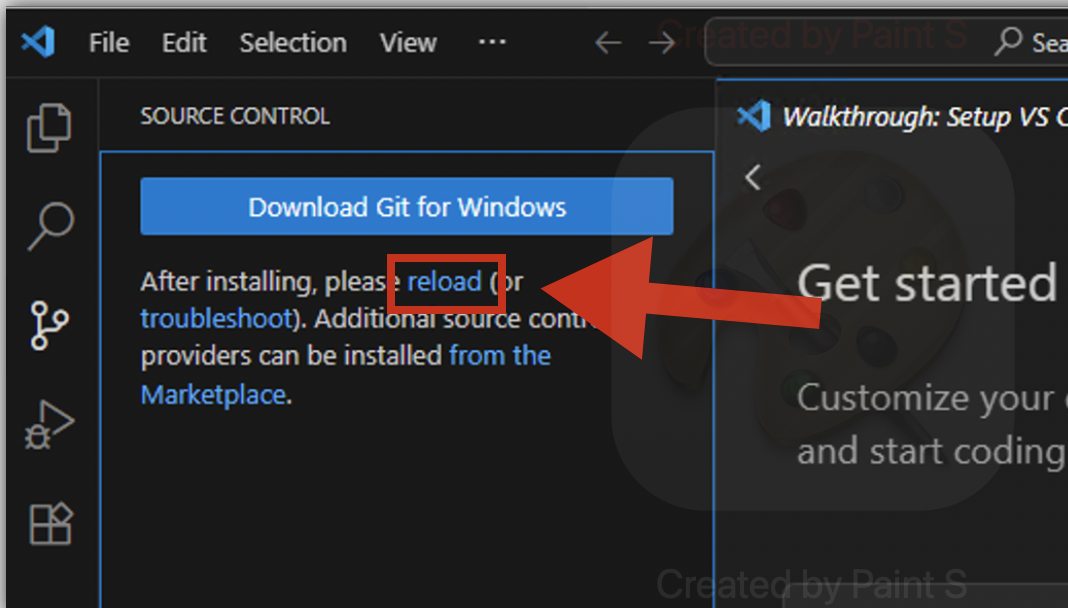
Step 3: Connect VS Code to GitHub
- Open Visual Studio Code.
- You may see a pop-up telling you to reload VS Code. Just click Reload.
Step 4: Clone the Repo into VS Code
In VS Code, click on Clone Repository.
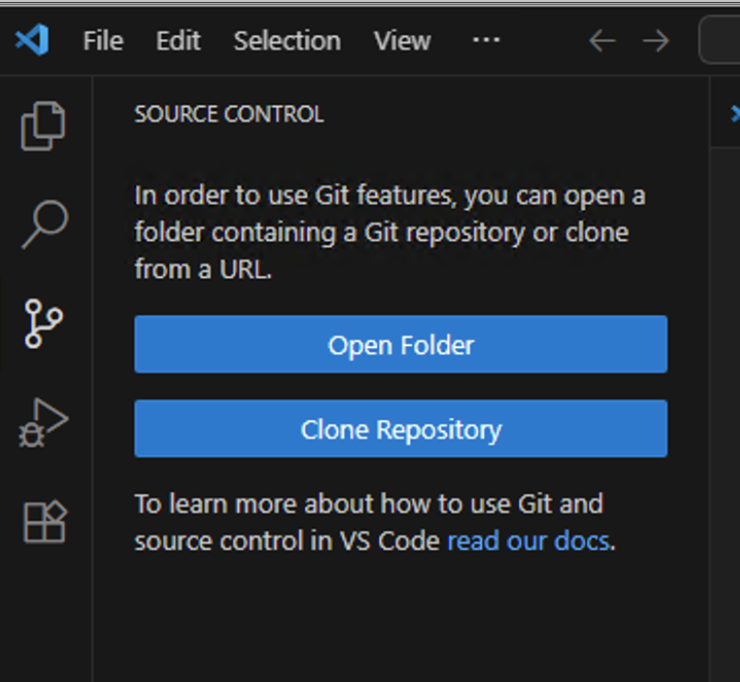
You will see two ways to link your repo:
Option 1: Direct login

- Click the option and it will open a browser window.
- Log in to GitHub and select your repo.
Option 2: Copy and paste the repo link
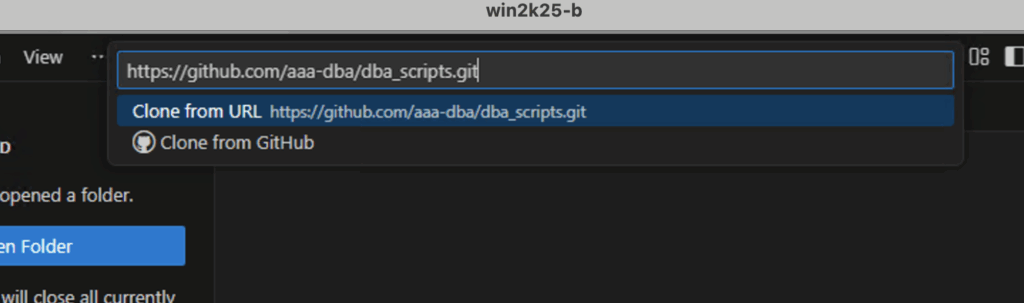
- Go to your repo on GitHub in your browser (Safari or Chrome).
- Click the green Code button.
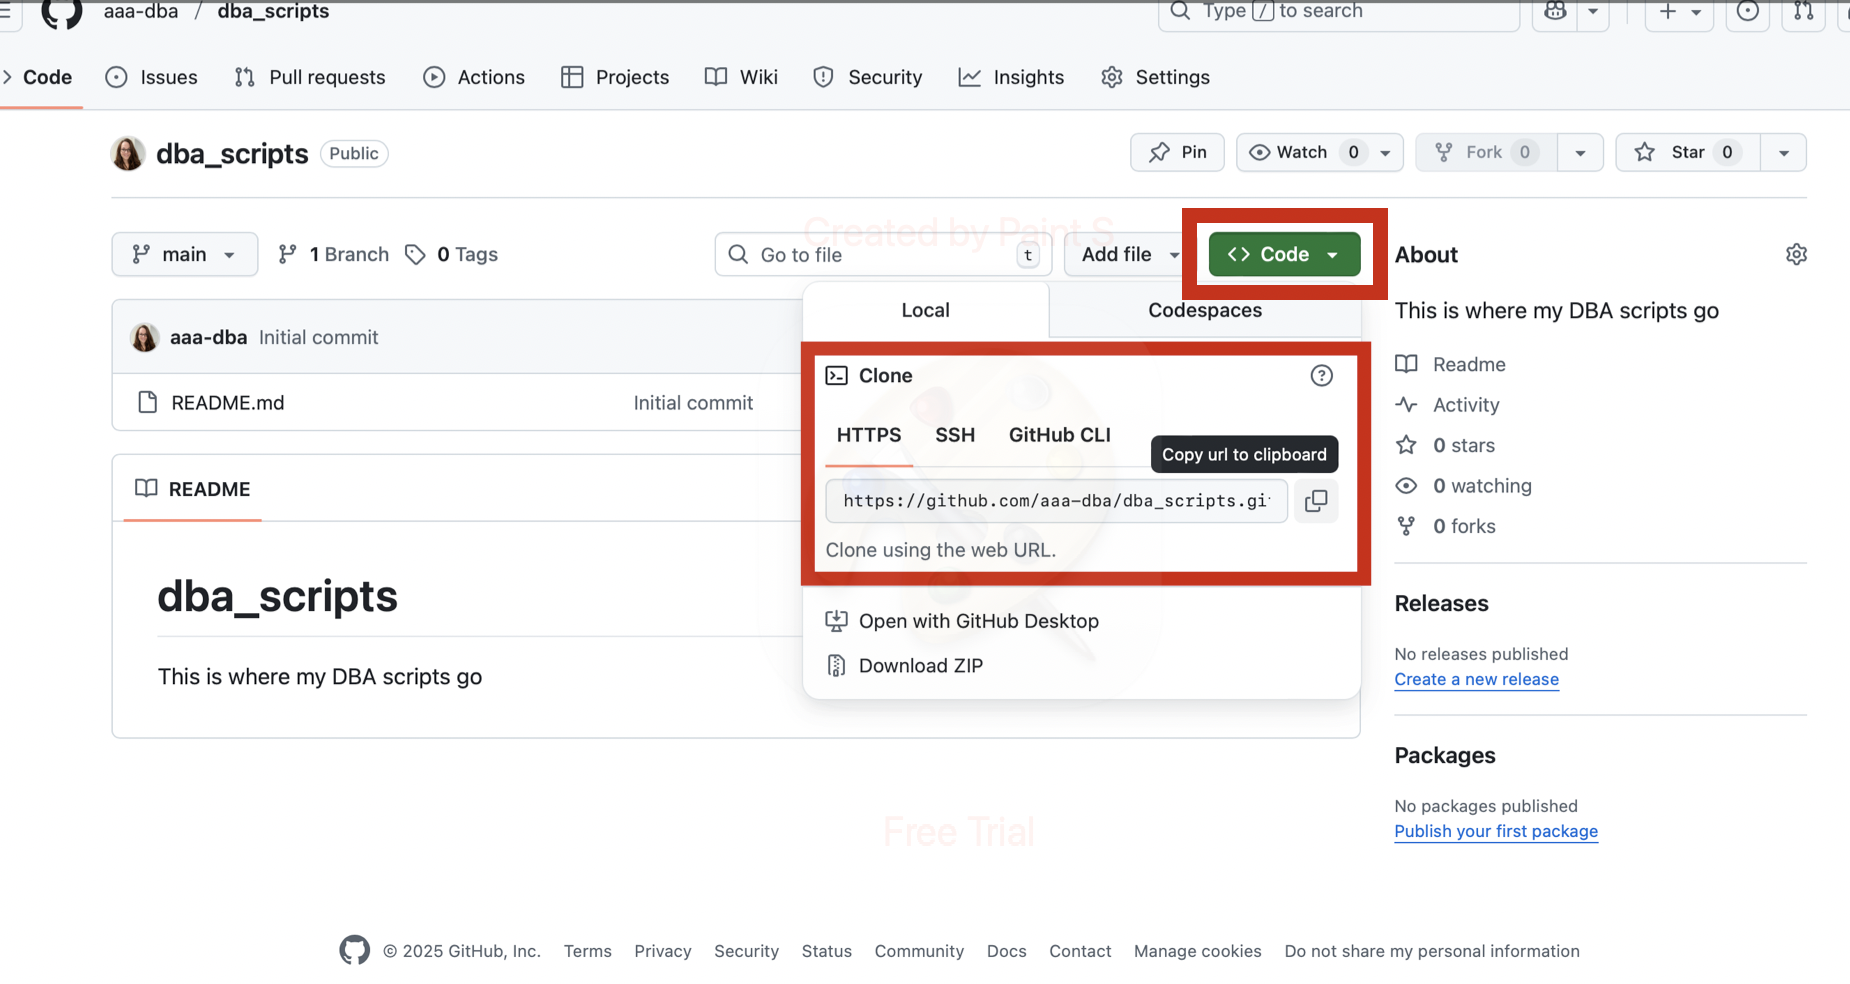
- Copy the repo link:
- HTTPS example: https://github.com/username/repo-name.git
- SSH example: git@github.com:username/repo-name.git
If you’re brand new to Git, use HTTPS. SSH is more advanced but you can set it up later.
Pick the folder on your computer where you want the repo saved.
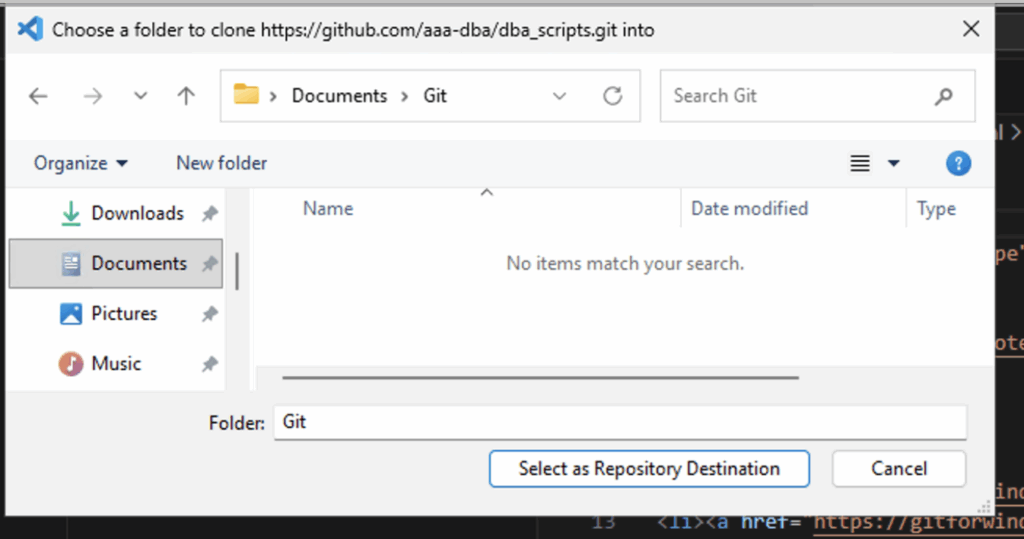
VS Code will clone the repo and then ask if you want to open it. Click Open.

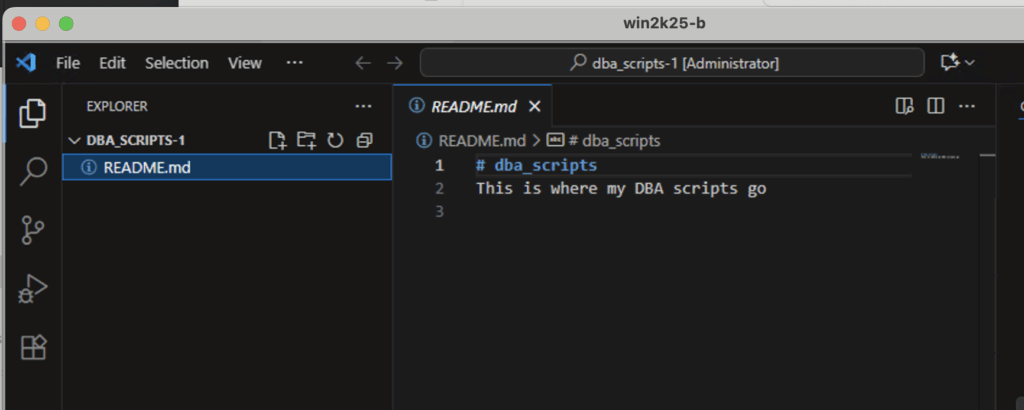
Your repo is local on VS Code and you should be able to see that on the left.
Summary
The steps above walk you through connecting GitHub to VS Code using the menus and buttons. This is a good place to start when you are new, but once you get comfortable, you will notice it is actually easier to do this through the command line.
SSH takes a little setup, but it is worth learning because most teams and companies prefer it. It is faster, more secure, and takes away a lot of the hassle when working with multiple repos. I’ll get into that in a future post.
Leave a Reply